I’ve been pinning hair chalking pictures on Pinterest for about a year now. Finally this week I got around to actually doing it. My friend, Jen, my sister and I had a spontaneous hair chalking party.
Hair chalks are a great temporary option to add some color to your hair, especially if you have a professional job that won’t allow you to do “crazy” things with your hair. If so, try it for the weekend, then wash it out before you have to go back to work.
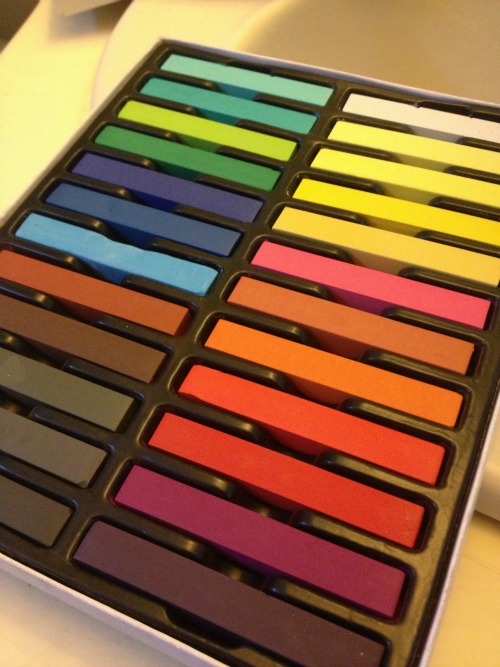
We bought our chalk online through a hair styling product company, but you could buy any set of soft pastel chalks from your local craft store (make sure it’s not the oil-based kind).
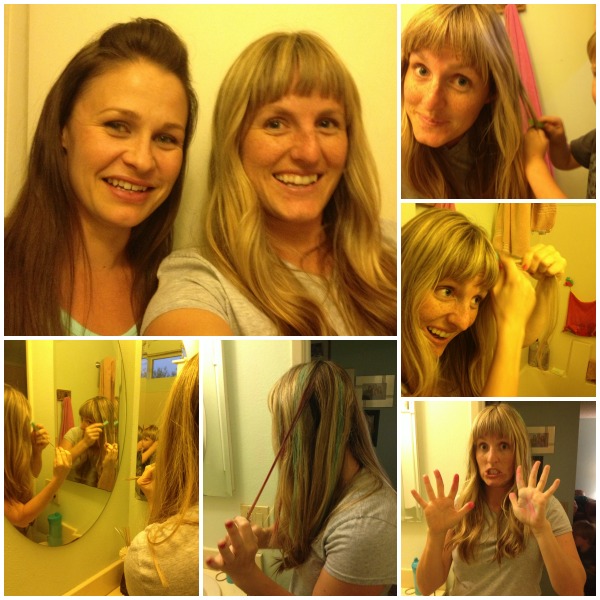
Here are pictures of our before & during:
First you get the part of your hair you want to dye damp and then rub the chalk over it until it is the shade you want. The more you rub it, the denser a color you will have. Make sure to only rub from top to bottom or you’ll give yourself dreads. 😉
It may rub off, so make sure to wear a shirt you don’t mind getting dirty and put a towel over your pillow if you’re going to sleep on it.
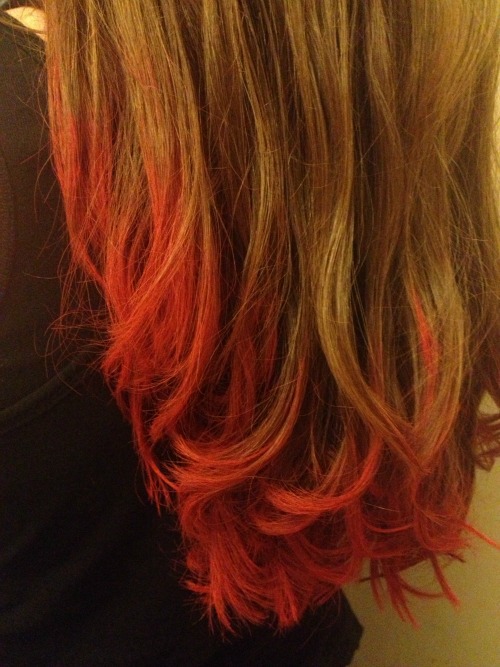
When you’re done covering your hair with chalk, let it air dry or lightly blow dry it until dry. Then, style with either a flat iron or curling iron to set the color. Be aware that if you brush it, the color will likely brush out.

I love how it turned out, especially after being curled (I apologize for the yellowy bathroom-lit pictures, like I said it was a “spontaneous” party, so just go with it). I honestly think it shows up better in Jen’s hair since it’s darker, which I didn’t expect.
You could also just do the ends of your hair, like we did with my sister’s. I want to try this color next time.
Happy Fashion Friday!

I have hair chalk and it didn’t work at all. I was so disappointed. It worked on Ava’s hair, but not mine. A texture thing? My box didn’t say to apply to damp hair so maybe I’ll try that.